Creating Chalkboard Signs Like An Artist
Our step-by-step guide to creating eye-catching chalkboards.
Stunning board designs are a fantastic way to attract people to your store. Once inside they're also an easy way to highlight offers or help upsell and cross-sell products.
The internet is full of great blackboard examples on sites like Pinterest and Instagram, but it's not as hard as it might seem to achieve a professional result. Our helpful guide to chalkboard calligraphy will help you create your designs in no time.
Read on for our step-by-step tutorial and to discover just how easily you can engage a customer with well-placed creative chalk labels and signs.
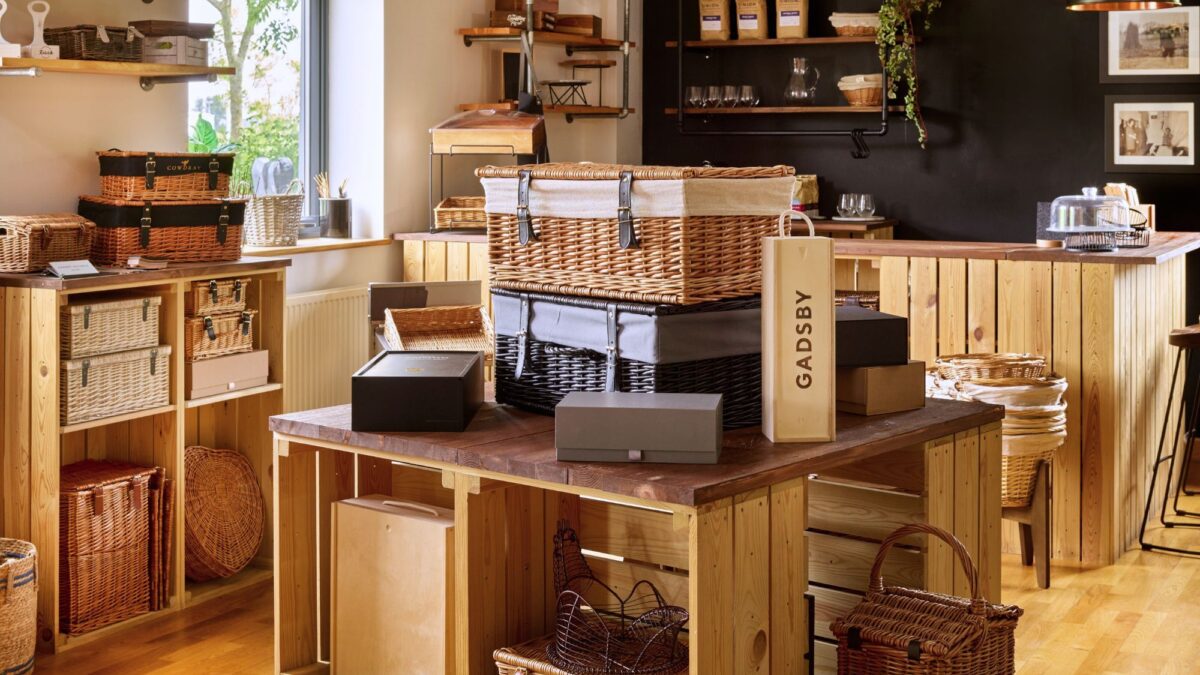
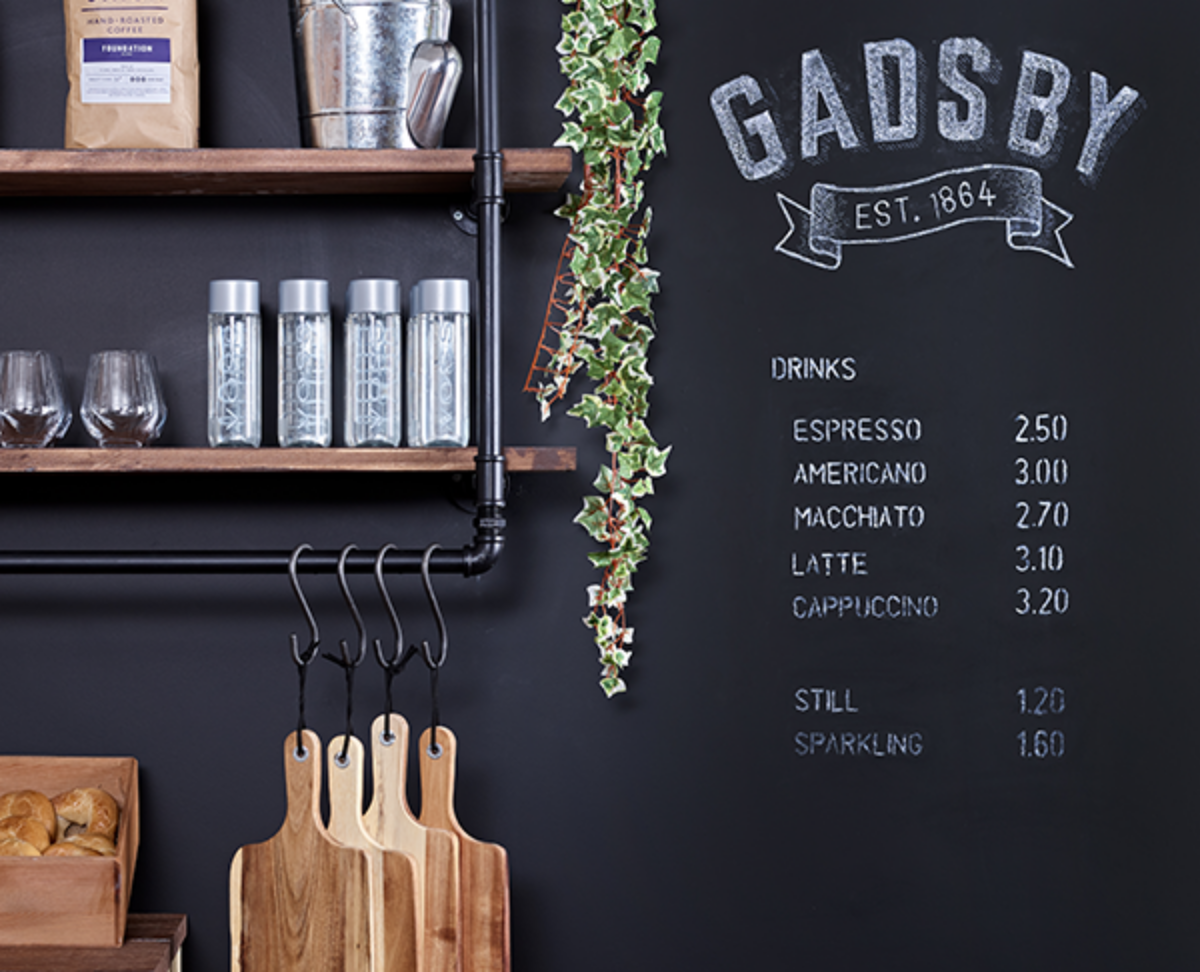
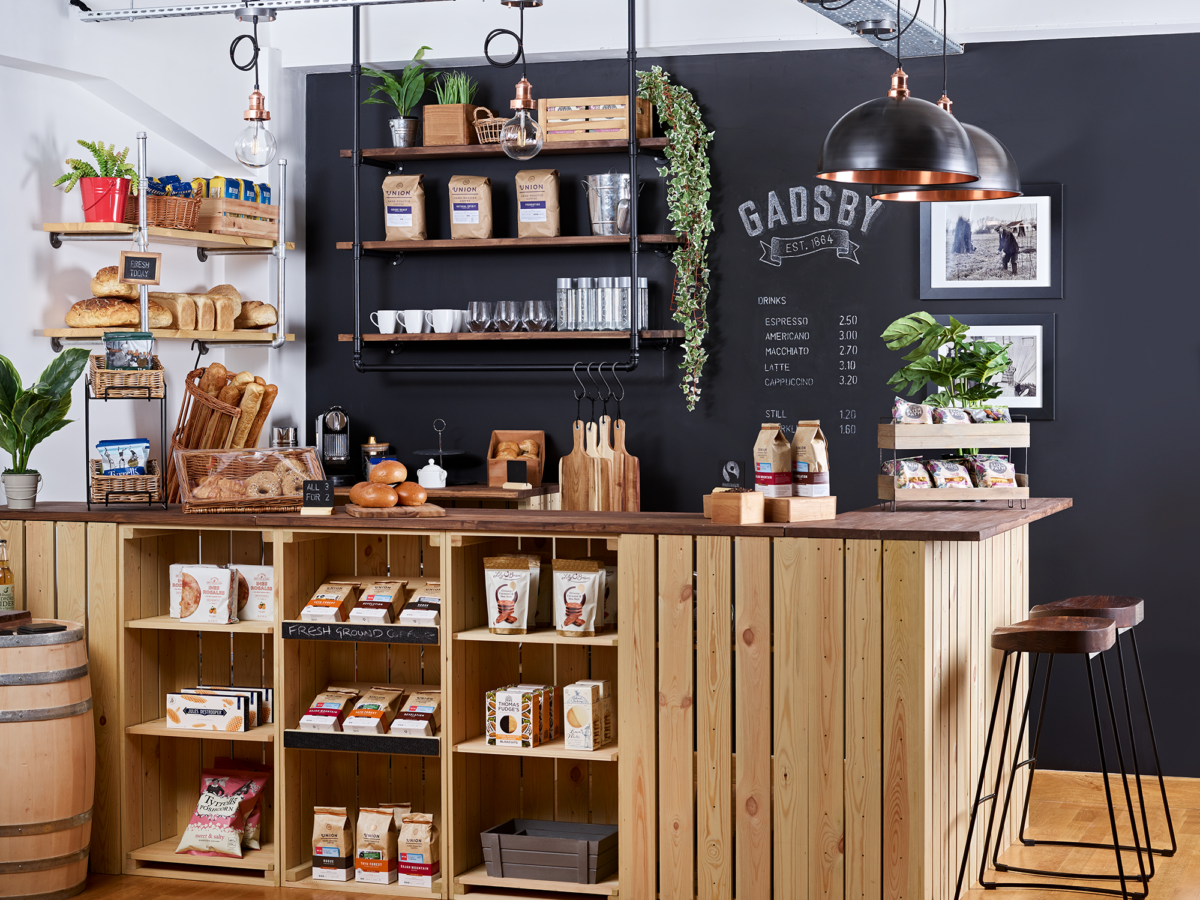
To help show the process we've created our chalkboard menu in our concept showroom. We hope you'll agree it looks great! It's really easy to apply the steps below to your designs, when you're finished we'd love to see so please share them!
What you'll need
To write professional-standard letters on a chalkboard sign or blackboard wall, you'll need the following items:
Computer and printer, blackboard chalk, liquid chalk (optional), tape measure, spirit level, damp cloth, cotton buds, pencil, water.
When it comes to the chalkboards themselves, our range should have you covered!
Step 1: Create your design
Draw or type your design on the computer. Feeling uninspired? Pinterest is a great resource for creative and innovative ideas. Entering keywords like 'chalkboard lettering' or 'chalkboard menu' into the search will narrow down your results for a suitable design for your retail sign.
There are loads of websites where you can find free fonts for commercial use, we like dafont.com which has plenty to choose from. It can be tempting to go for decorative or novelty fonts, but keep these to a minimum, your customers need to be able to read the message! For our showroom examples, we went with three styles that tied in nicely with our brand and theme.
Remember, choose a design that portrays your brand and complements your décor to communicate what you're all about.
Step 2: Get Prepared...
A carefully executed, well-thought-out design will engage and help convert customers better than a rushed handwritten attempt. So take time when preparing your designs!
If you're using a new chalkboard it's a good idea to prime it. This will reduce 'ghosting'. This is when you can still see your design after you have erased it. Use the long side of the white chalk to thoroughly rub over the whole board. Wipe away excess chalk dust with a dry lint-free cloth. In our example, we skipped this step as we wanted to keep our chalk wall a true black for visual impact.
Use a tape measure to find the centre of your board or wall and draw a faint horizontal and vertical guideline to help you. Don't worry, we'll erase them later with a cotton bud.

Step 3: Chalk your design
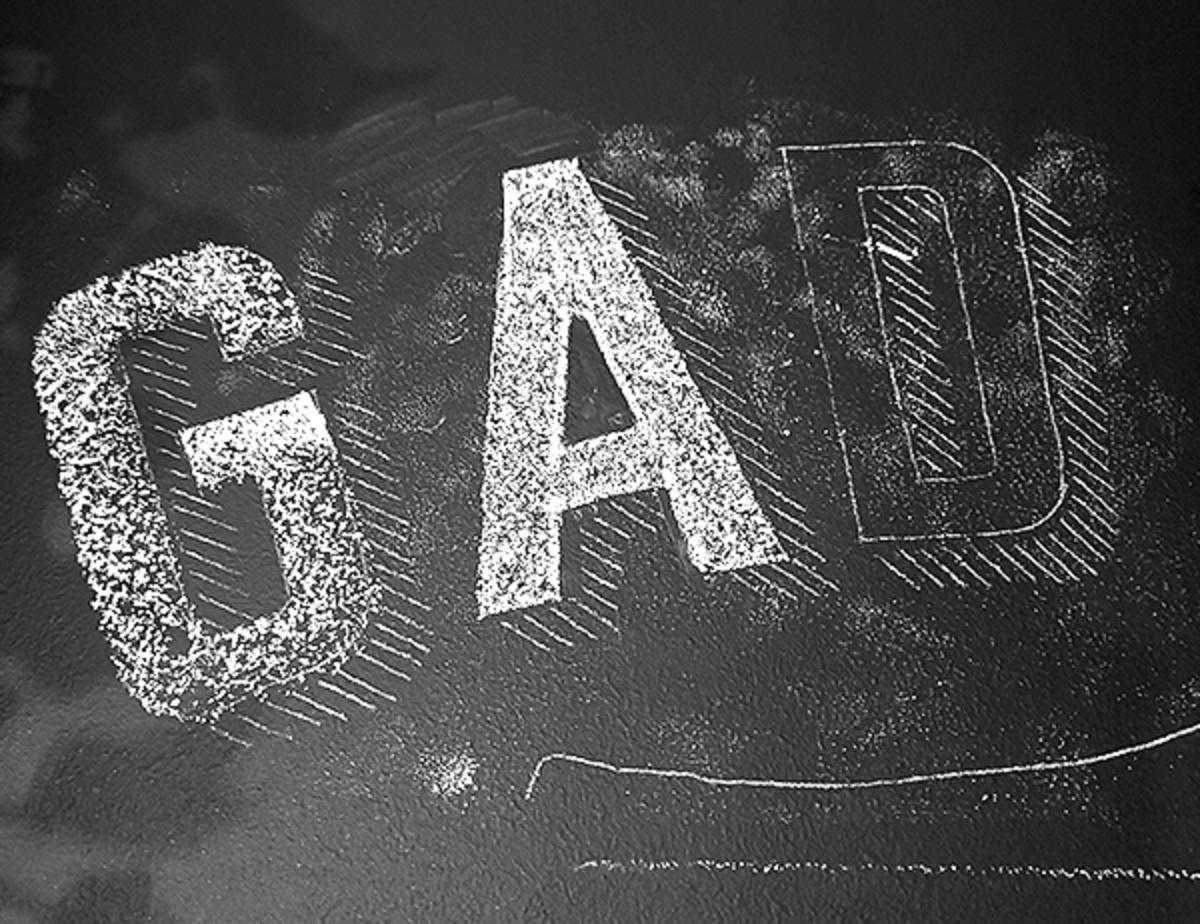
Print your design onto A4 paper, it's easier to work with than A3 when chalking larger areas. Don't worry if your design splits over multiple pages, you can arrange your design on a flat surface to avoid getting in a muddle.
Once you've printed your design, flip the paper over. Your design should show through the paper. Using the long side of the chalk rub over the design area. It doesn't matter too much if you chalk outside of the design lines, you can easily clear up any unwanted transfer later. Repeat this process a couple of times to create a thick layer of chalk dust for the best result.
Tip excess chalk dust into a nearby bin, being careful not to blow dust onto your chalkboard surface.
Step 4: Trace your design
If you are chalk lettering a small POS such as mini chalkboards or wood framed with jute string, trim your paper template down to size.
Lay the chalked side of the paper against your chalkboard, sticking down larger templates with tape, this will prevent them from slipping until you are ready to reveal your masterpiece.
You can then use a pencil to trace over the letters with firm pressure to transfer your design onto your surface. If you are left-handed, move from right to left to minimise smudging.
The pressure from the pencil will transfer chalk to the chalkboard.
Pencil over the entire letter when tracing smaller fonts. You only need to outline large letters, we will fill these in later.
How to get professional results
- Wet your chalk or board for a brighter finish when dry.
- Set with hairspray - use sparingly in layers.
- Use a cotton bud to refine edges and small details.
- Don't be scared to use coloured chalk to make your sign pop.
- Include eye-catching symbols and illustrations.
- Keep the tip of the chalk pointy, use a sharp knife.
- Practise makes perfect!
Benefits of great signage
- Increase customer awareness of underselling products.
- Inform customers of key products and services features.
- Flexible displays that can be moved around store.
- Chalk can be erased easily to swap in new messages or promos.
- Chalkboards are reusable, helping cut down on plastic waste.
Step 5: The big reveal
Carefully remove the paper to reveal your chalk lettering. Don't be tempted to retrace any letters, instead go over any faint letters with a sharpened blackboard chalk to achieve your desired look.
Having a few chalk lengths to hand to fill your letter outlines is a good idea. Using a piece of chalk the width of your letters, hold down the long edge of the chalk and follow the shape of the letter with firm pressure. Repeat.
Use a damp lint-free cloth to remove any smudging or fingerprints. A wet cotton bud is excellent for refining edges and erasing guidelines.
Once dry, your chalkboard sign is ready for display and should look great!
The perfect placement
The positioning of hanging signs and product labels will determine their effectiveness. Hang signs from decorative retail props or lean against crates and displays. Use small signs on shelving and counter-tops to identify produce. Go for large freestanding chalkboards, a-frames and chalk walls for stand-out signs that can be seen from a distance to capture a customer's eye.
How we can help
Choosing the right boards & accessories
Deciding on the ideal point of sale for your establishment couldn't be easier. Our cost-effective collection includes freestanding, self-adhesive, hanging and clip-on signboards.
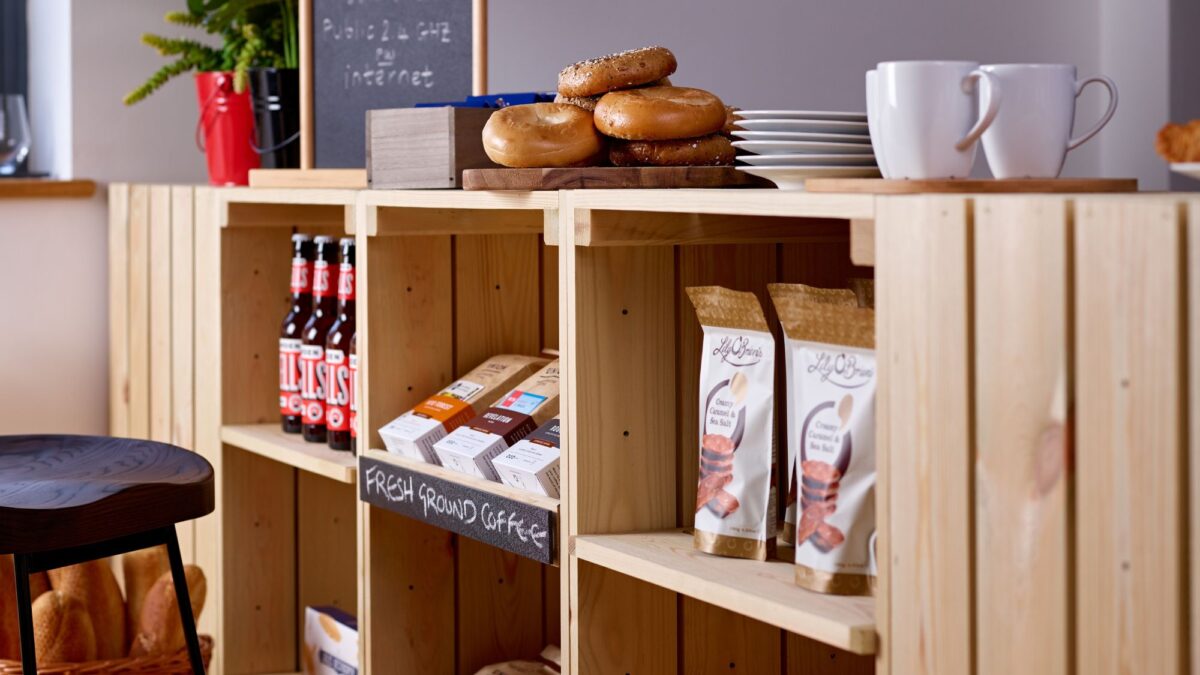
Well-suited to Farm Shops and Delis, our wooden framed chalkboards and slate boards hung from jute string are a favourite for highlighting seasonal produce, offers and organic ingredients.
Our signage strip has been designed to fit our modular CrateWall display and key pieces of our retail furniture range.
Reusable signage is more cost-effective than printed and vinyl alternatives. The low-cost blackboards are ideal for short-term promotions as they can be easily changed and moved around the store.
Want to reach eco-conscious customers? Read our next article How To Appeal To Eco-Conscious Shoppers or browse the other guides in our Retail Display E-Learning Hub.