How To Install CrateWall
Unlike many retail display systems, CrateWall doesn't come with complicated instructions or lengthy installations. We've designed CrateWall to be a simple and flexible way to reimagine your retail space without any stress or unnecessary upheaval. These four easy steps will guide you through the installation.
1. Make sure the delivery is correct
We can deliver your order as soon as the next working day, providing you place your order before 3pm Monday - Friday. We'll send you an email when your order has been dispatched. If you want to know more about your delivery you can log into your account. Order details include the name of the person who picked and packed your order, the courier your delivery was sent with, and with certain couriers you will also receive a tracking number. The courier we send your order with will depend on the size and weight of your order, as well as your location.
Each CrateWall component will arrive pre-assembled and packed in a separate box. Even if you won't be installing CrateWall right away we do ask that you open each box to make sure nothing has been damaged in transit. Our warehouse team are highly skilled at packing stock for transportation, so damages are extremely rare, but in the unlikely event you receive a faulty item it's best to contact our sales team right away so that we can resolve this for you. Once you have opened all the boxes, check off each item on your delivery note. Be careful not to damage the wooden crates if opening the outer boxes with a retractable safety knife or scissors.
2. Assemble your CrateWall
Before installing CrateWall sketch your chosen arrangement on paper. If you've ordered one of our CrateWall kits, you may find it helpful to pull up the product page on your phone or tablet to help you through this next step.
The pre-assembled components are quickly joined together with inter screws (also known as binding screws) that are supplied with your order. The only two tools you'll need are a mallet and a screwdriver. We find a rubber mallet to be the best tool for this as it's quieter and reduces the risk of damage.
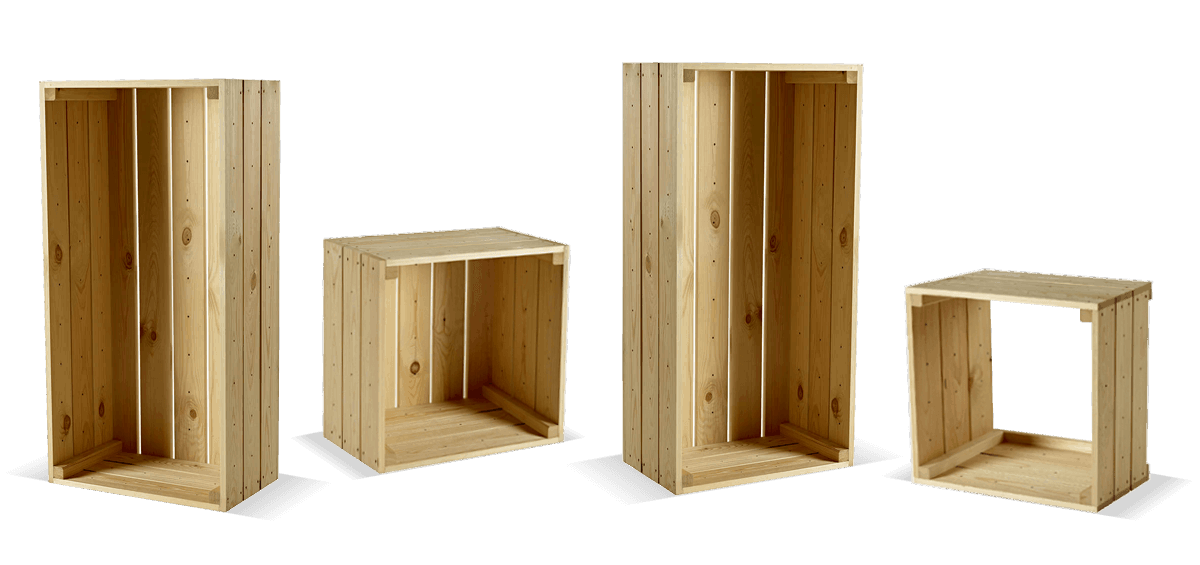
Select the first two wooden crates and place them next to one another, ensuring the side-by-side units line up. Next, insert the non-threaded binding posts through the predrilled holes at the top and bottom of one side. Using a mallet, ensure the binding posts are firmly set into the adjoining units and screw in the threaded counterpart to secure. Using only two fixings is sufficient to connect 50cm crates, but a few more are recommended for 75cm and 100cm crates.
Once you have a strong connection, you are ready for the next unit, it's as simple as that! If you make a mistake along the way or want to deviate from your original plan, you can easily take it apart and reconfigure your CrateWall.
After the display crates have been arranged and secured, you can add the shelves. The flat and sloping shelves are mounted using the same predrilled holes with the supplied fixings. Simply decide where you want your shelves to go and pop the fixings into the predrilled holes. The back fixings should be inserted in the row above the holes in the front when hanging the sloping shelves.
Finally, for larger CrateWall wall units, we do sometimes recommend fixing to the wall with a safety fixing to make it extra secure. We don't supply these fixings however they are readily available from hardware suppliers.
3. Arrange your merchandise
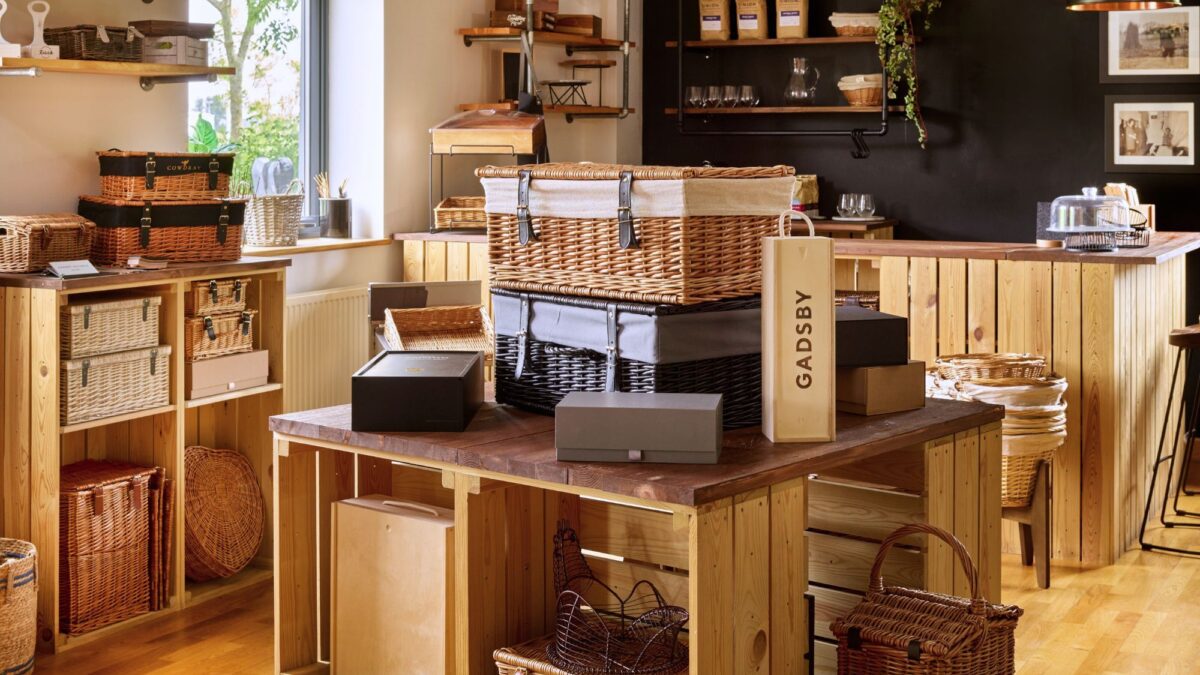
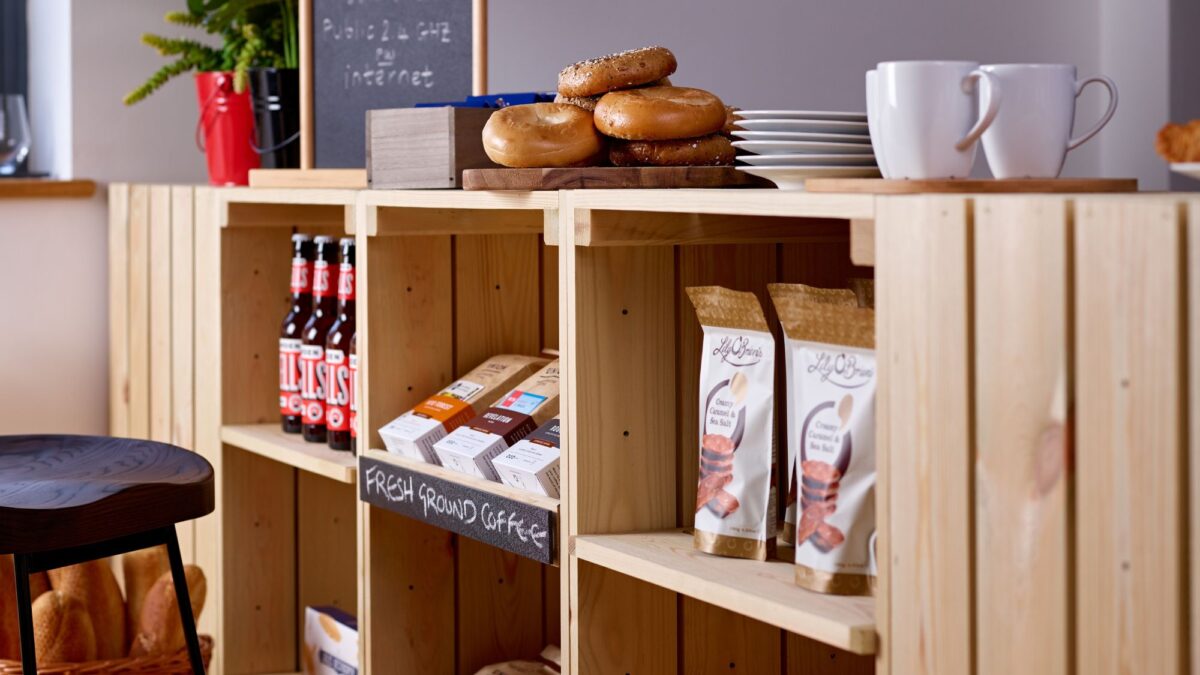
Having installed CrateWall to suit your retail space, you now have a blank canvas and many display possibilities. Use the space to showcase a variety of products. As you arrange your merchandise, consider fast-moving products, new arrivals, high ticket items and those that need to be sold quickly. Make sure you also consider factors such as store lighting, natural light, the directional flow and the layout of your store.
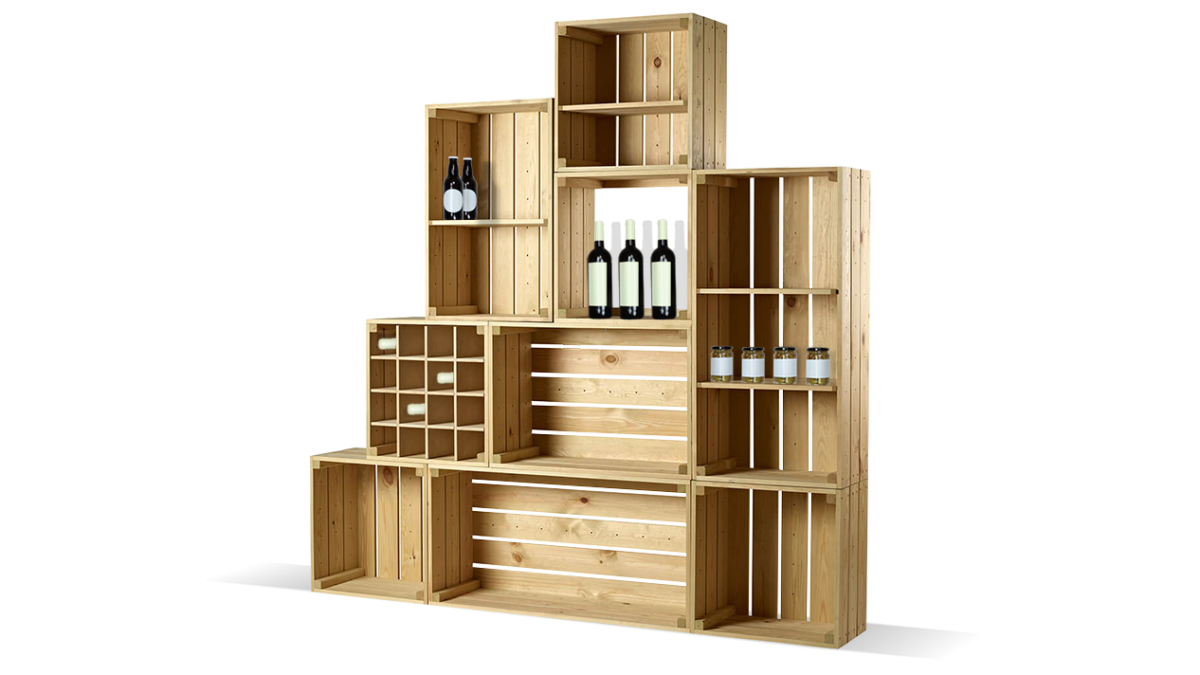
If your CrateWall kit includes a 16 Bottle Wine Rack, this is a great place to start. This pre-assembled wine rack is ready to use by easily slotting into a 50cm crate or 50cm open back crate. Arrange bottles and then organise the surrounding shelves with complementary products.
If you've chosen the Gravity Bin CrateWall you should also decide which wooden crates will house the food dispensers. After attaching the wall bracket to the back of the CrateWall display, dispensers are easily inserted and secured.
Remember eye height is 'buy-height' as those products which sit directly in the customers' eyeline are the easiest to browse. As this area of your display gets more attention than other shelves, it's worth spending a little more time merchandising products here. That said, all CrateWall components have been designed to help you sell more. For instance, the sloping shelf is angled to maximize product display and the chalkboard signage provides clear labelling for each crate.
4. Extending and reconfiguring CrateWall
One of the major selling points of CrateWall is its unmatched flexibility. We designed this retail display solution to give you total freedom to scale up or reconfigure your display to work in your space, for your clients and your products.
The adaptability of CrateWall makes it ideal for evolving store layouts, seasonal displays, bringing new products to market, and exhibiting. For example, rearranging the core wooden crate components can easily transform a single wall display into a counter display.
CrateWall kits are available in various configurations, and you can also purchase individual wooden crates, shelves, wine racks, and chalkboard strips from our website to update and grow your display at any time. Simply attach to existing CrateWall units with counter screws as easily as you built your initial display.
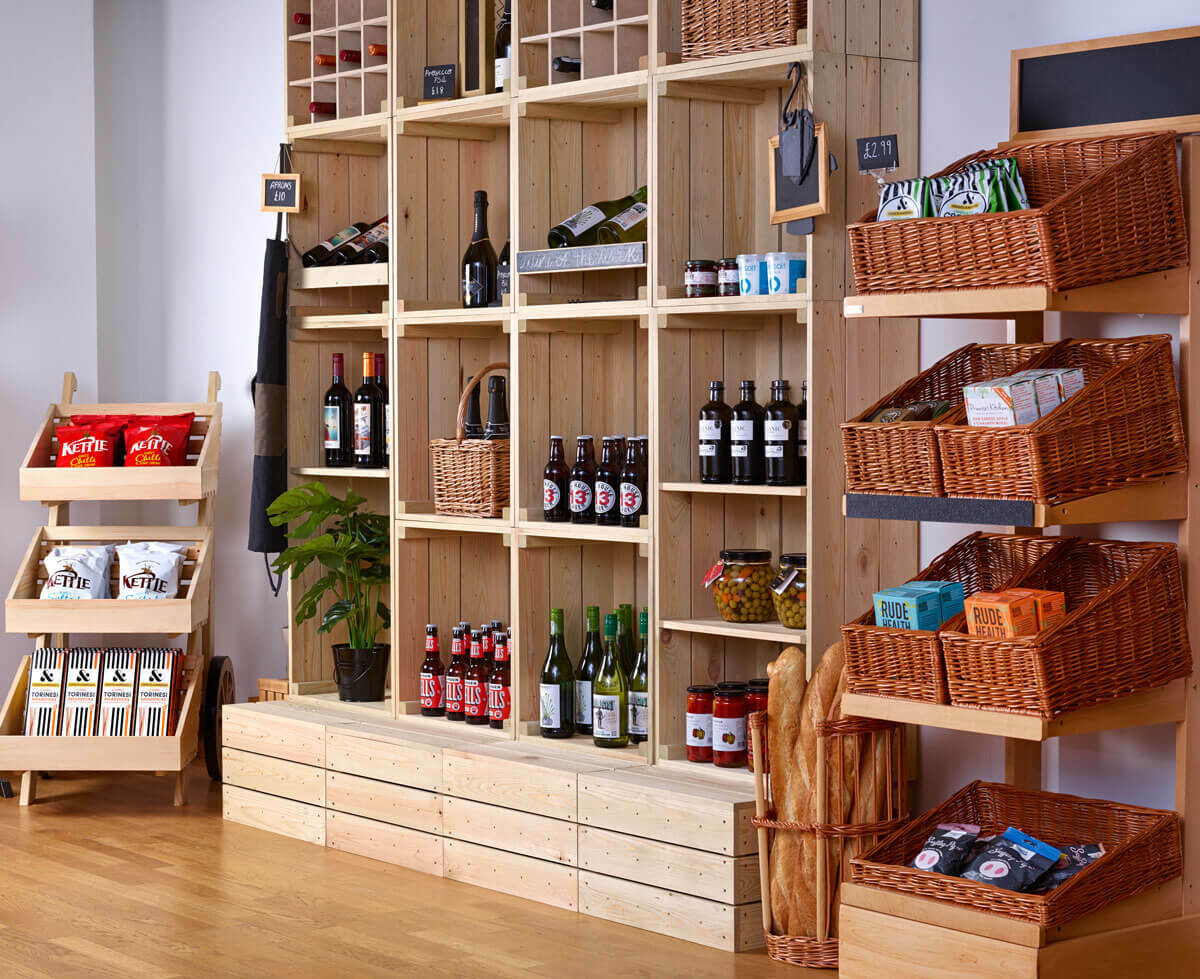
CrateWall is compatible with a wide range of our retail display components and beautifully complements our industrial display fixtures. It also works well with countless products from our catering and hospitality range, including wicker display baskets for fresh and baked goods, countertop display stands and risers, food presentation boards and signage.
Getting in touch with us directly is the best way to learn about all the options available to you. Our friendly team love to hear about projects you are planning and is always very happy to help.